Book an Appointment
A wordpress plugin for booking and scheduling appoinments
by Mandy Technologies · github.com/hari-mandy/book-an-appointment
★ 0stars
0forks
Install
No release zip yet. The repository archive installs, but the folder name will carry the branch suffix and updates will not flow:
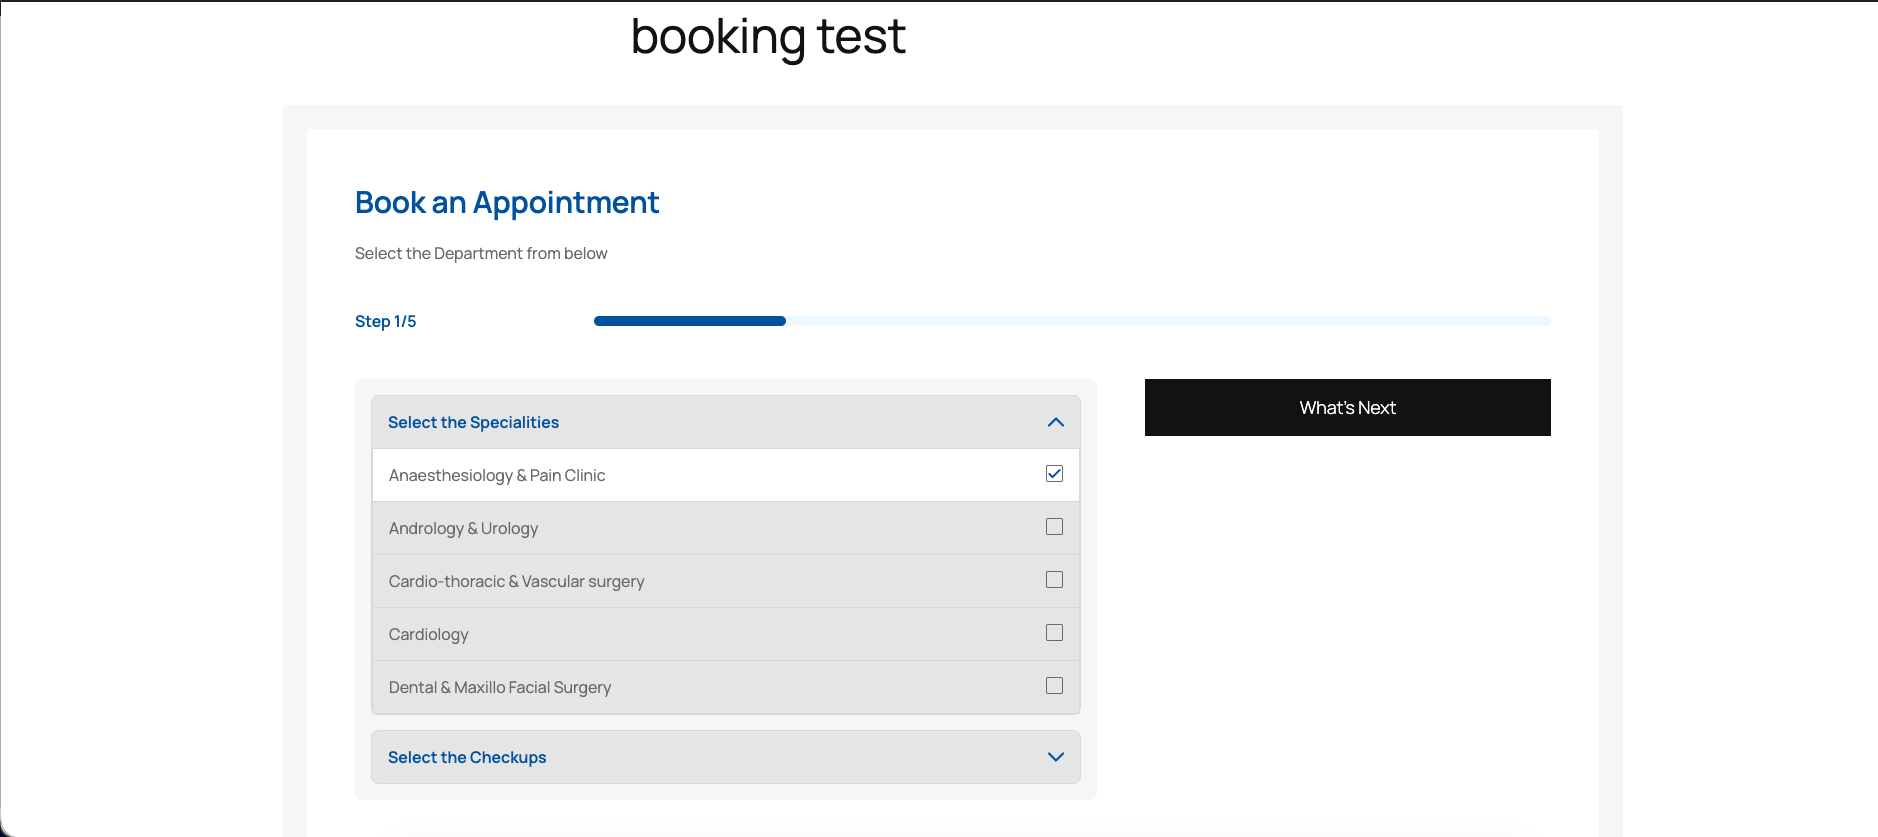
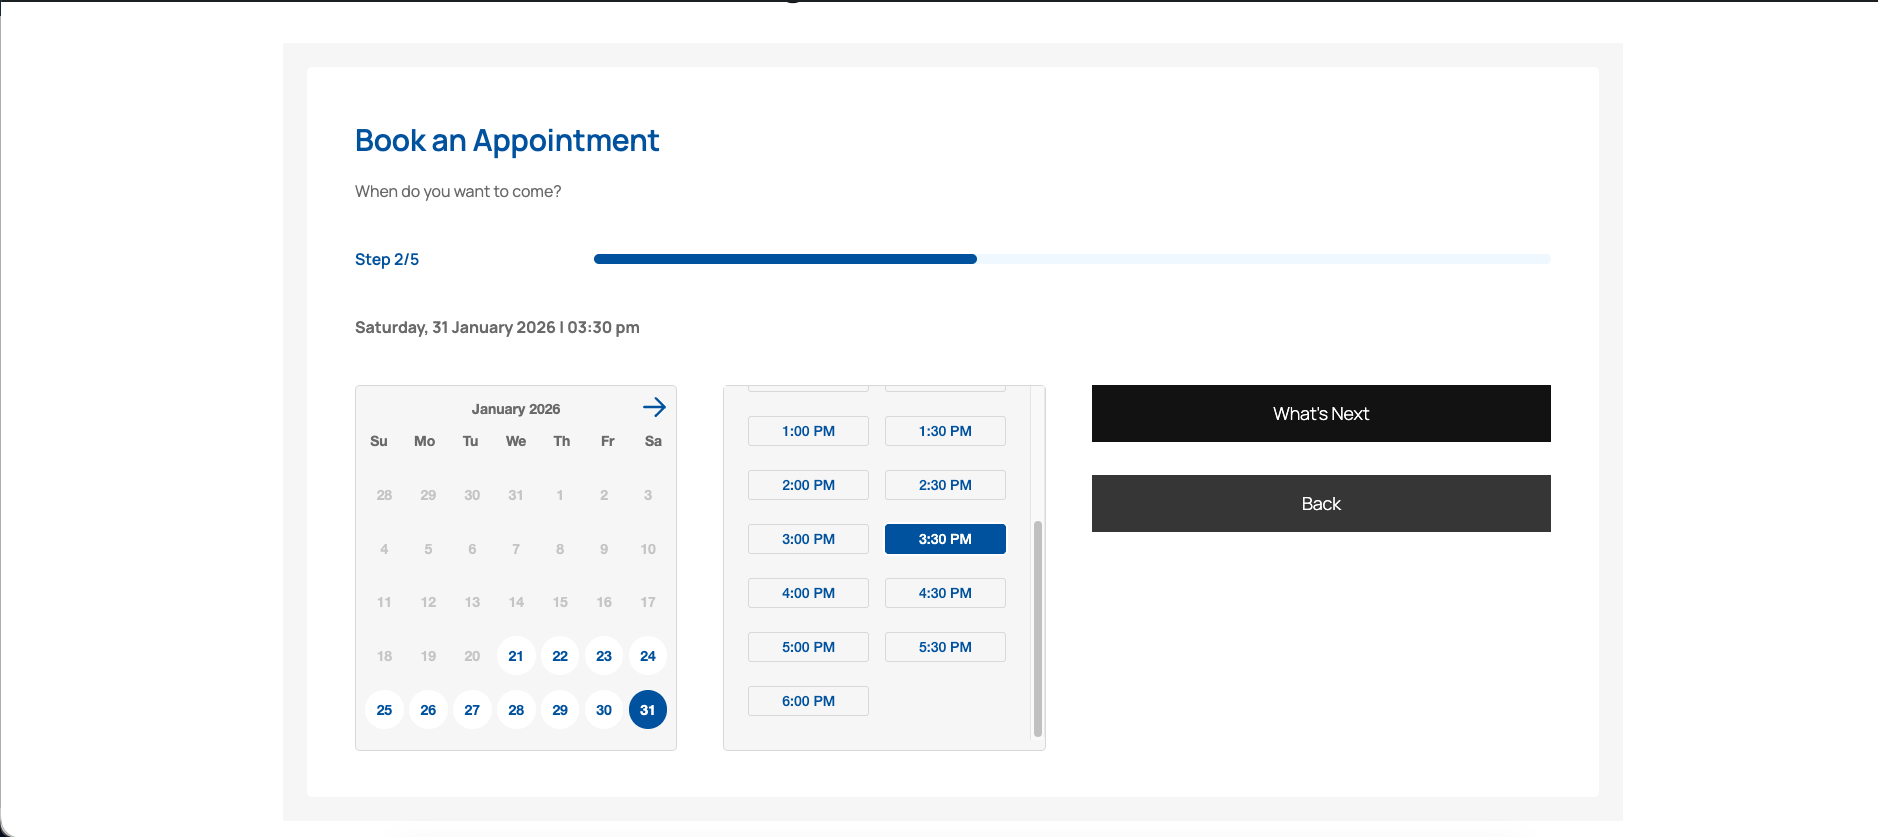
wp plugin install https://github.com/hari-mandy/book-an-appointment/archive/refs/heads/main.zipA wordpress plugin for booking and scheduling appoinments with doctors. The User can choose the speciality and checkup type, date & time. The token will be generated and send to their registered email.
Installation
1. Download the plugin files.
2. Upload the plugin folder to the /wp-content/plugins/ directory.
3. Activate the plugin via the Plugins menu in WordPress.
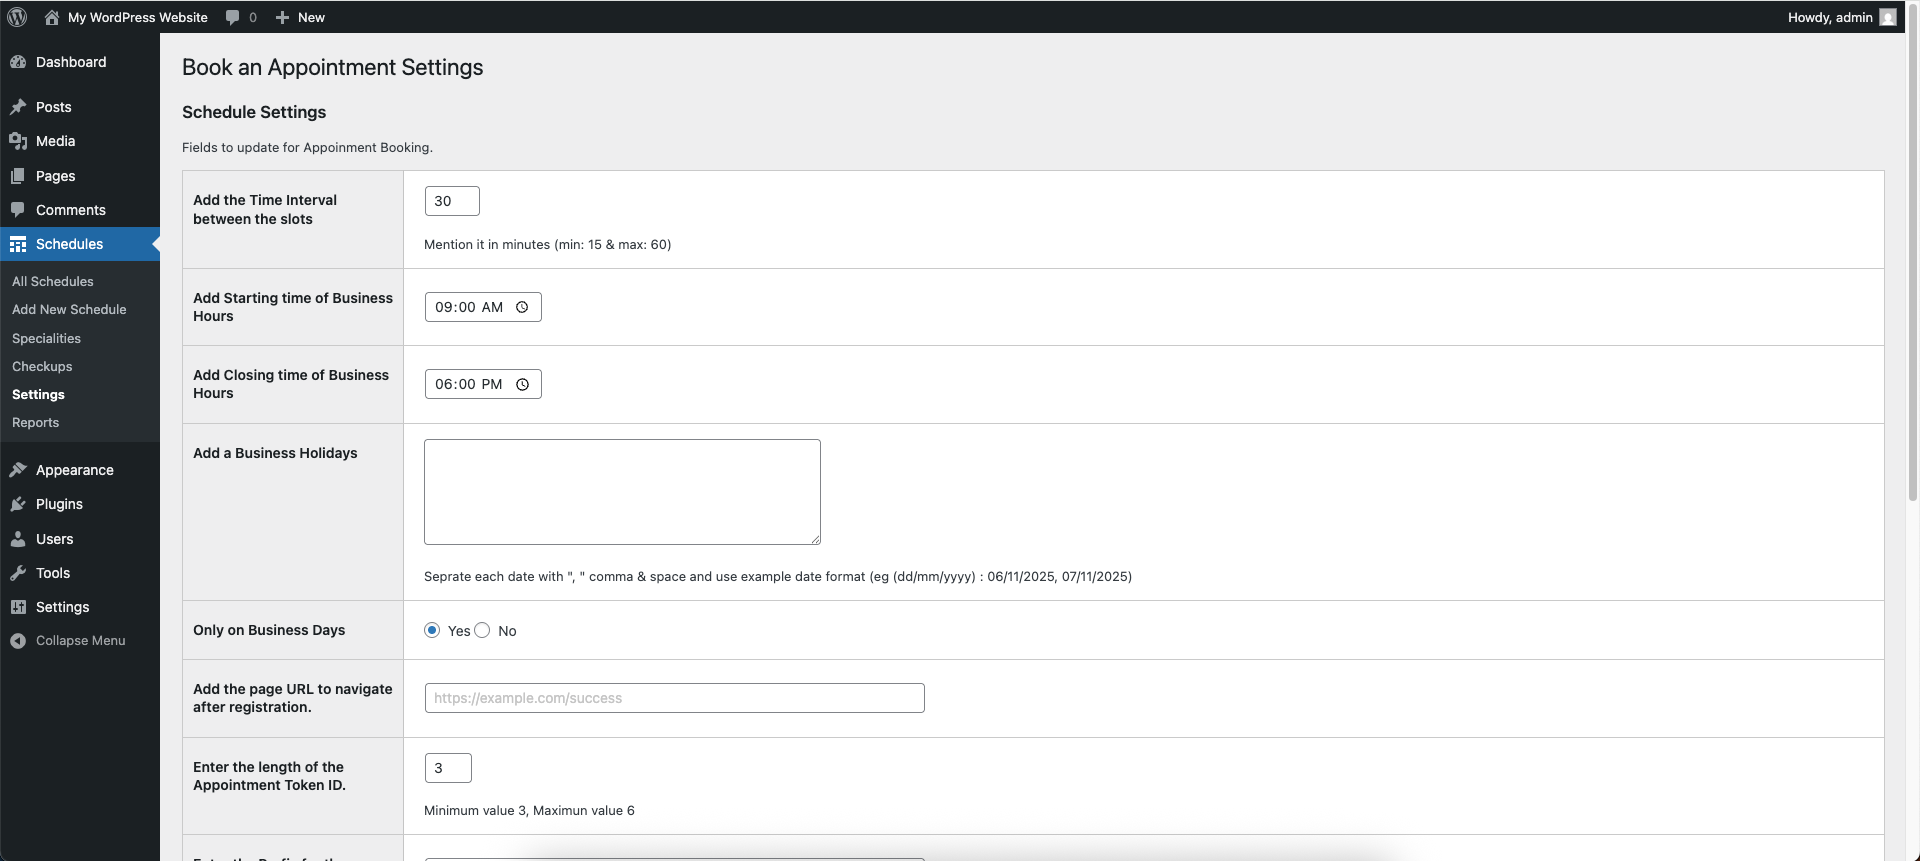
4. Navigate to Schedules → Settings to configure the settings.
Features
- Customised fields on the backend settings.
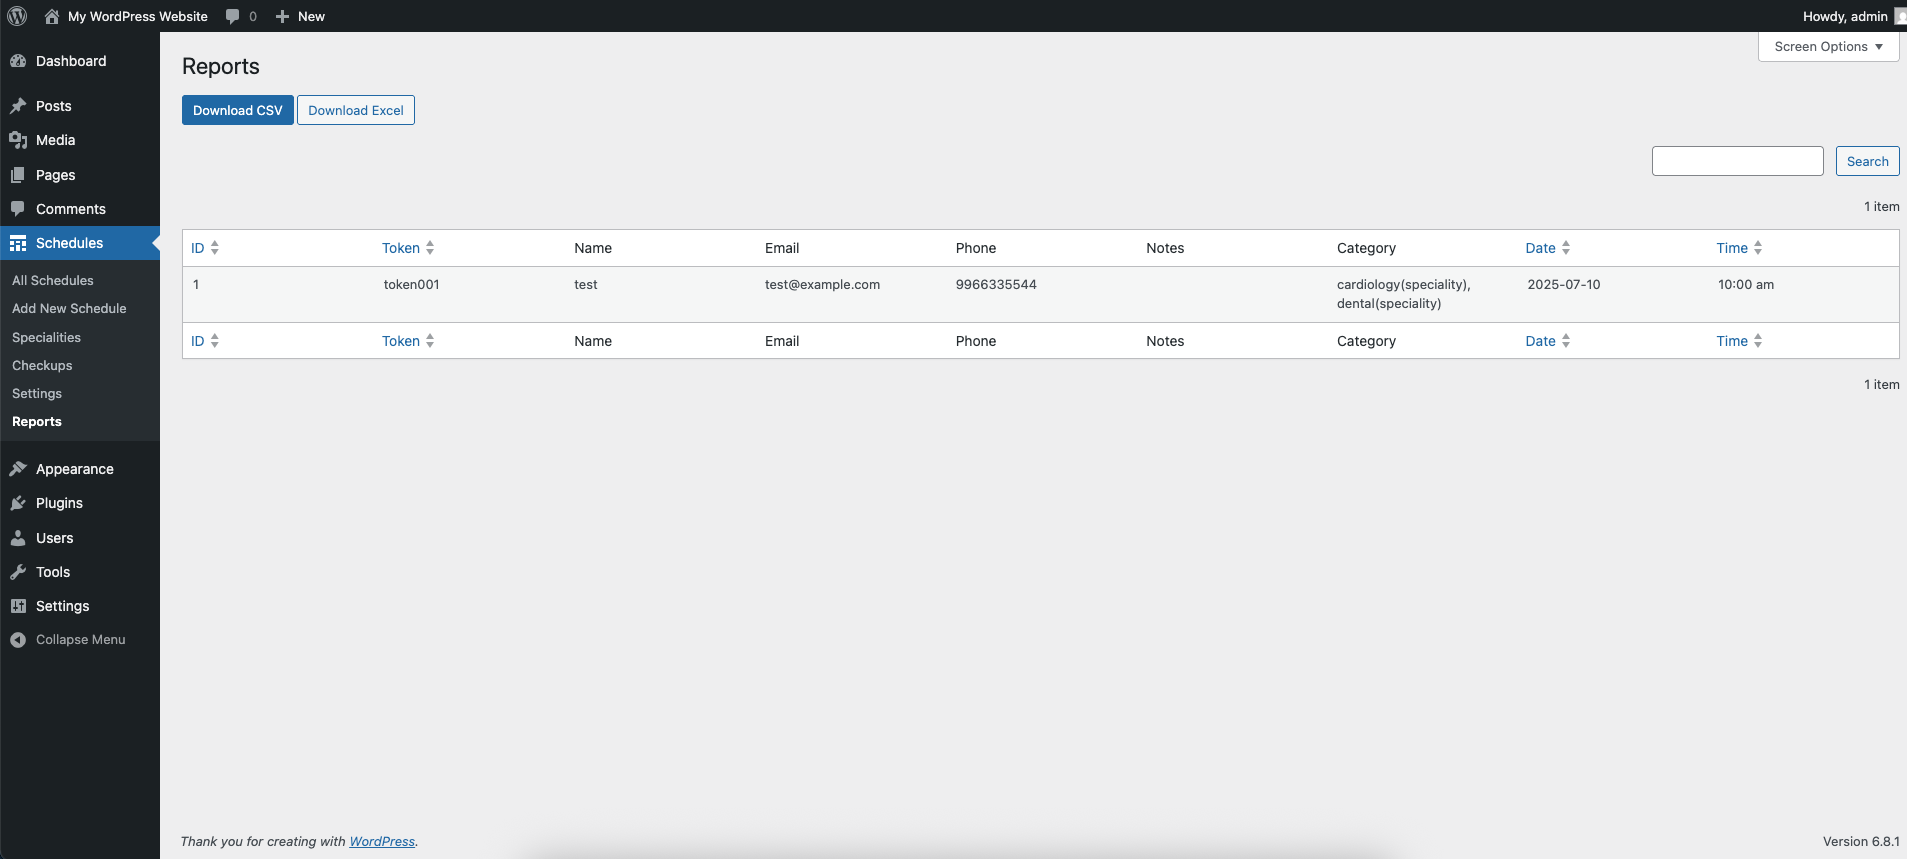
- Reports page for listing the appointments with customised pagination and search option.
- Appointments table can be downloaded in csv and excel formats.
- React Components were used for better UI.
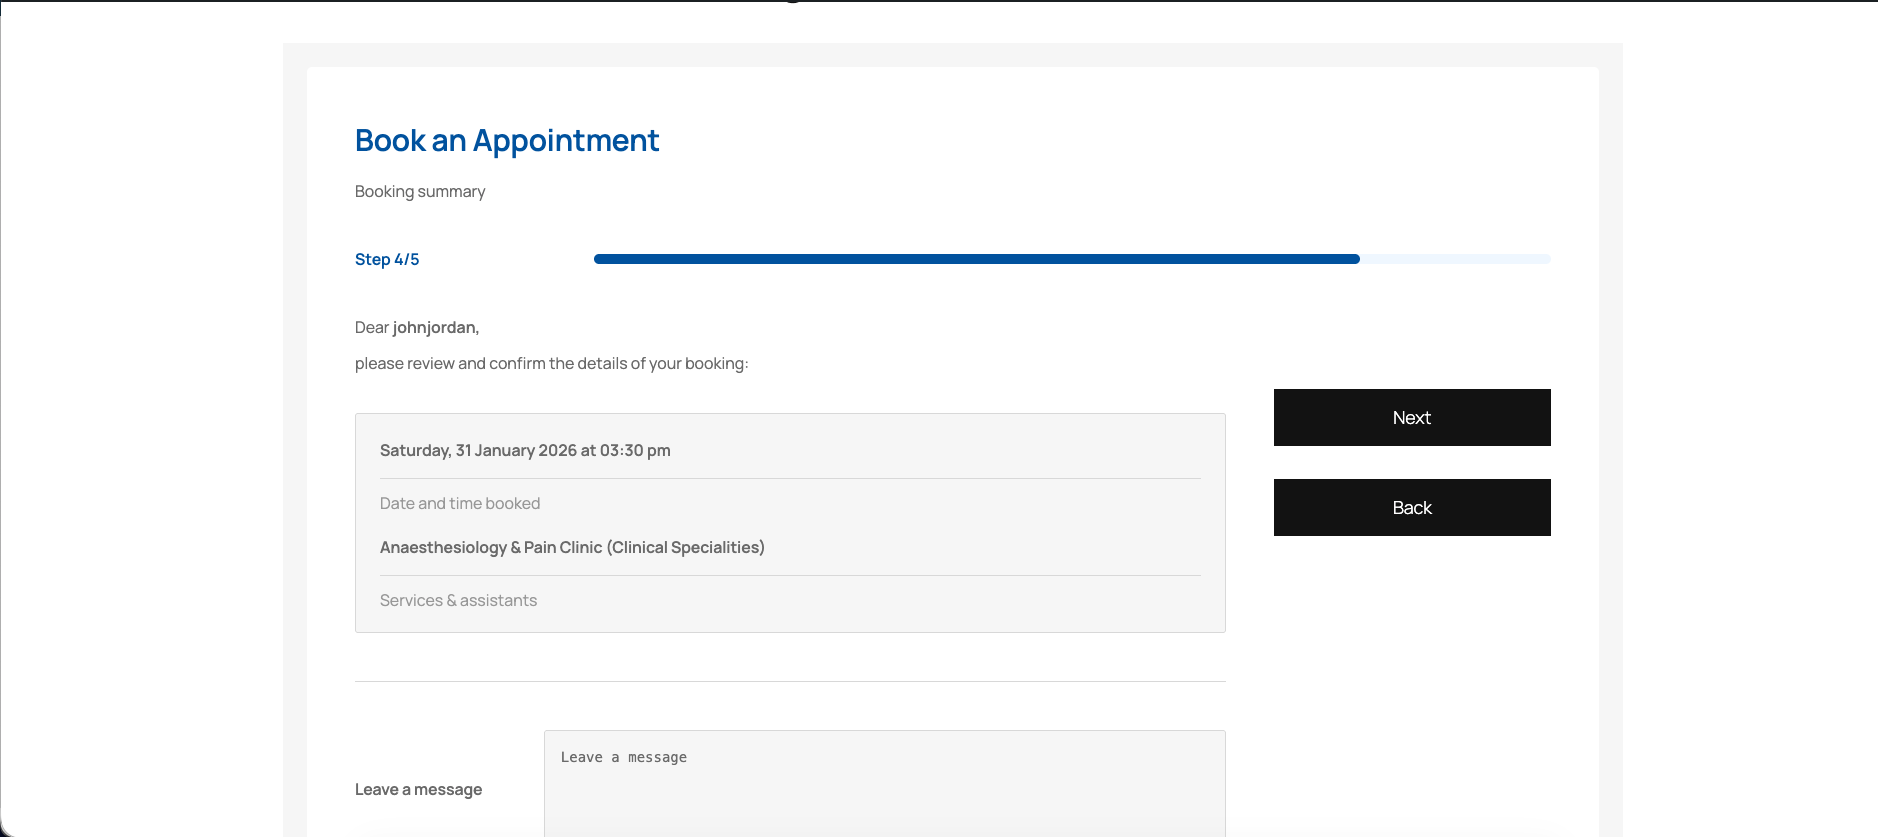
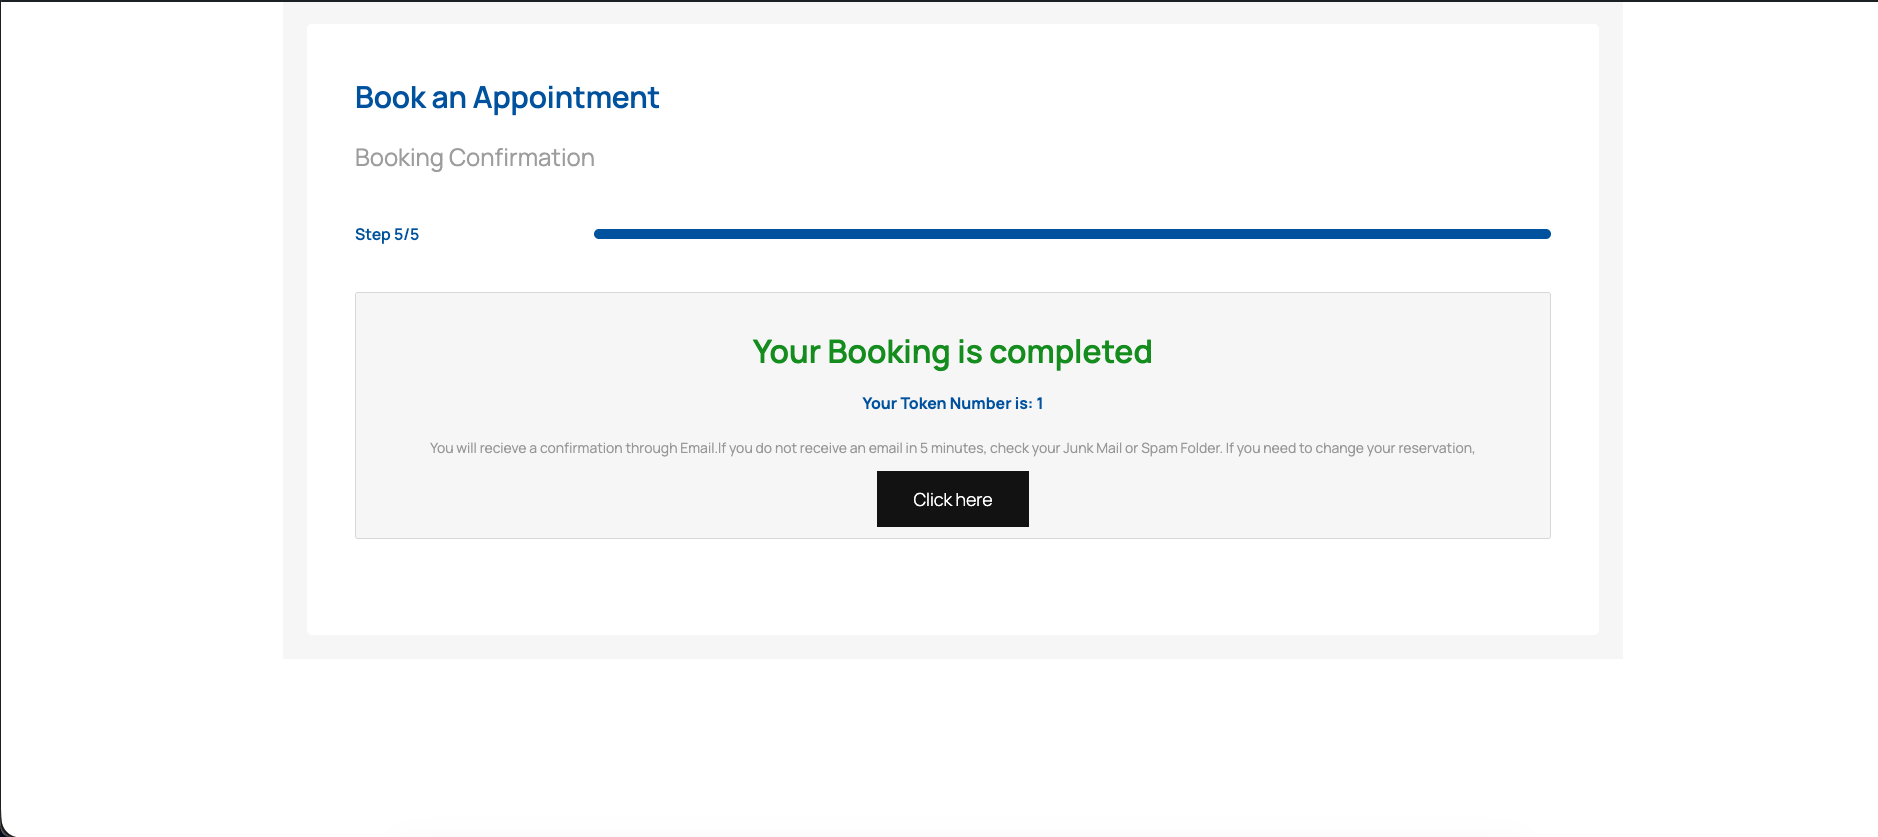
- Notification Mail will be sent to user with their token.
- Token Length and Prefix can be changed in backend.
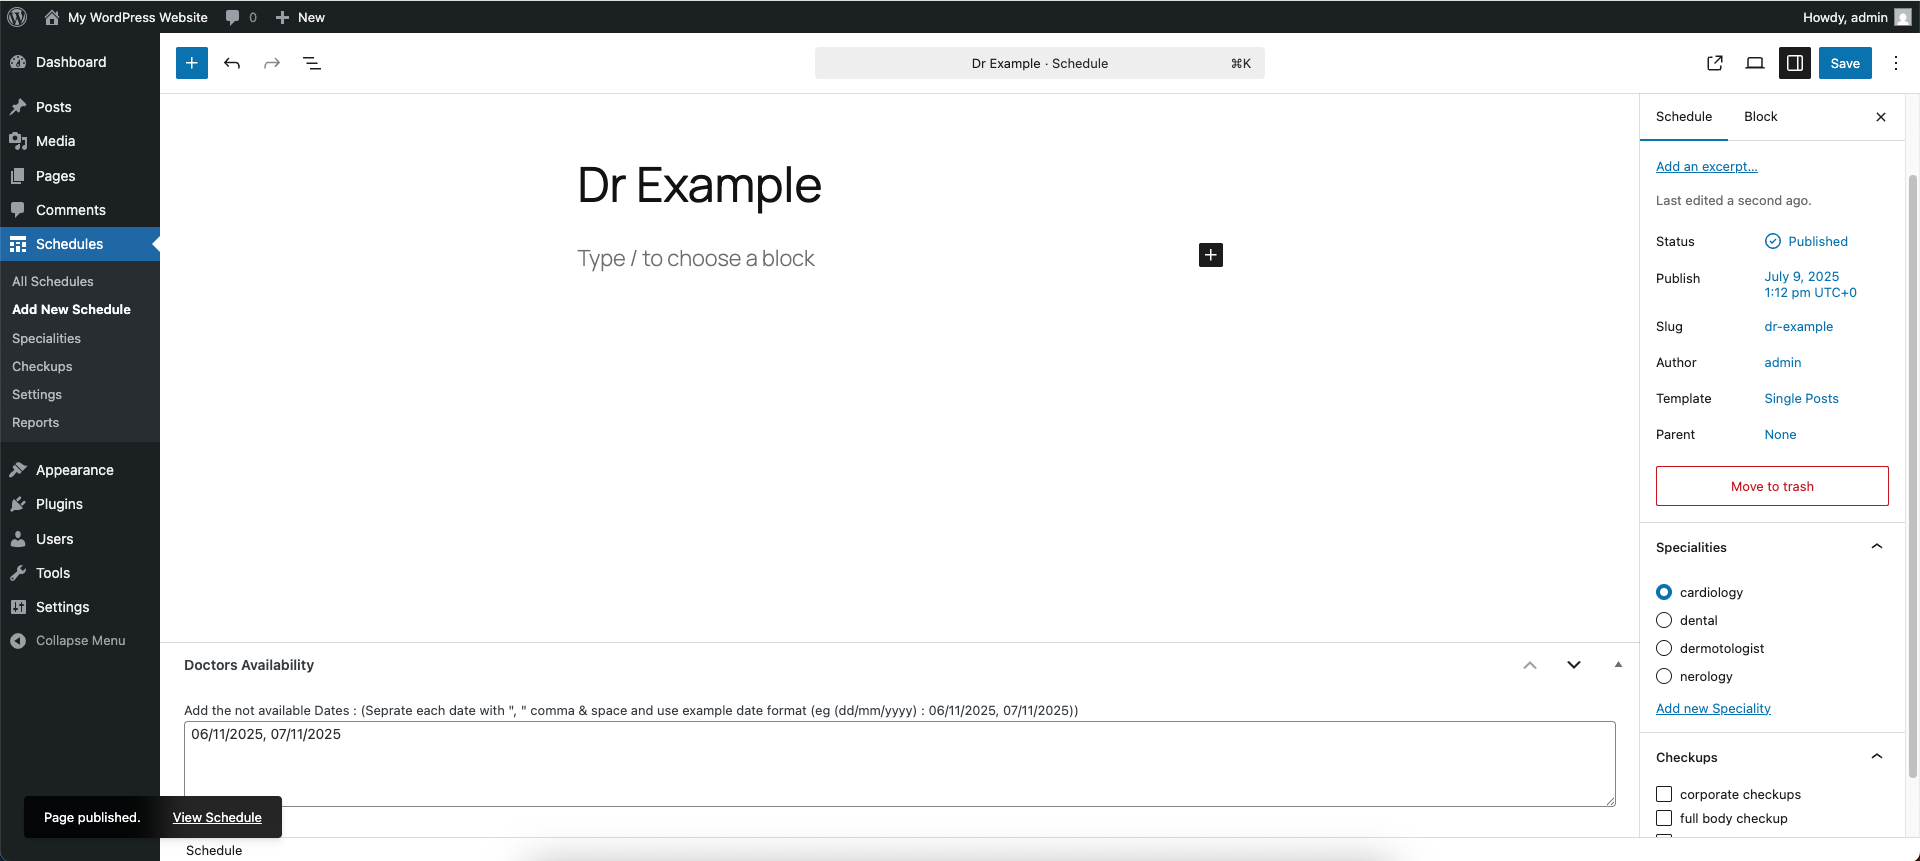
- Individual leaves for the doctors can be added.
- Added Custom table to maintain the user Appointment details.
Settings
1.  Time Interval - time between each slots.
2.  Starting time of Business Hours - Starting Time for the appointments.
3.  Closing time of Business Hours - Closing Time for the appointments.
4.  Business Holidays - Add the date's when the Hospital is closed(Strictly follow date formate mentioned).
5.  Business Days - Appointments taken on weekends or not.
6.  URL to navigate after registration - Add the url for the button in success page after the appointment is booked.
7.  Length of the Appointment Token ID - Mention the integer length that the token should be generated.
8.  Prefix for the Appointment Token ID - Add the prefix for the appointment token generation.
9.  Email From Address - add the from email address for notification.
10. Email Subject - add the Custom subject for the email.
11. Email Content - Add the content you need to send for the user and follow the patten given below.
12. Email Footer- Add your email footer.
Screenshots
Backend
Settings page
Reports page
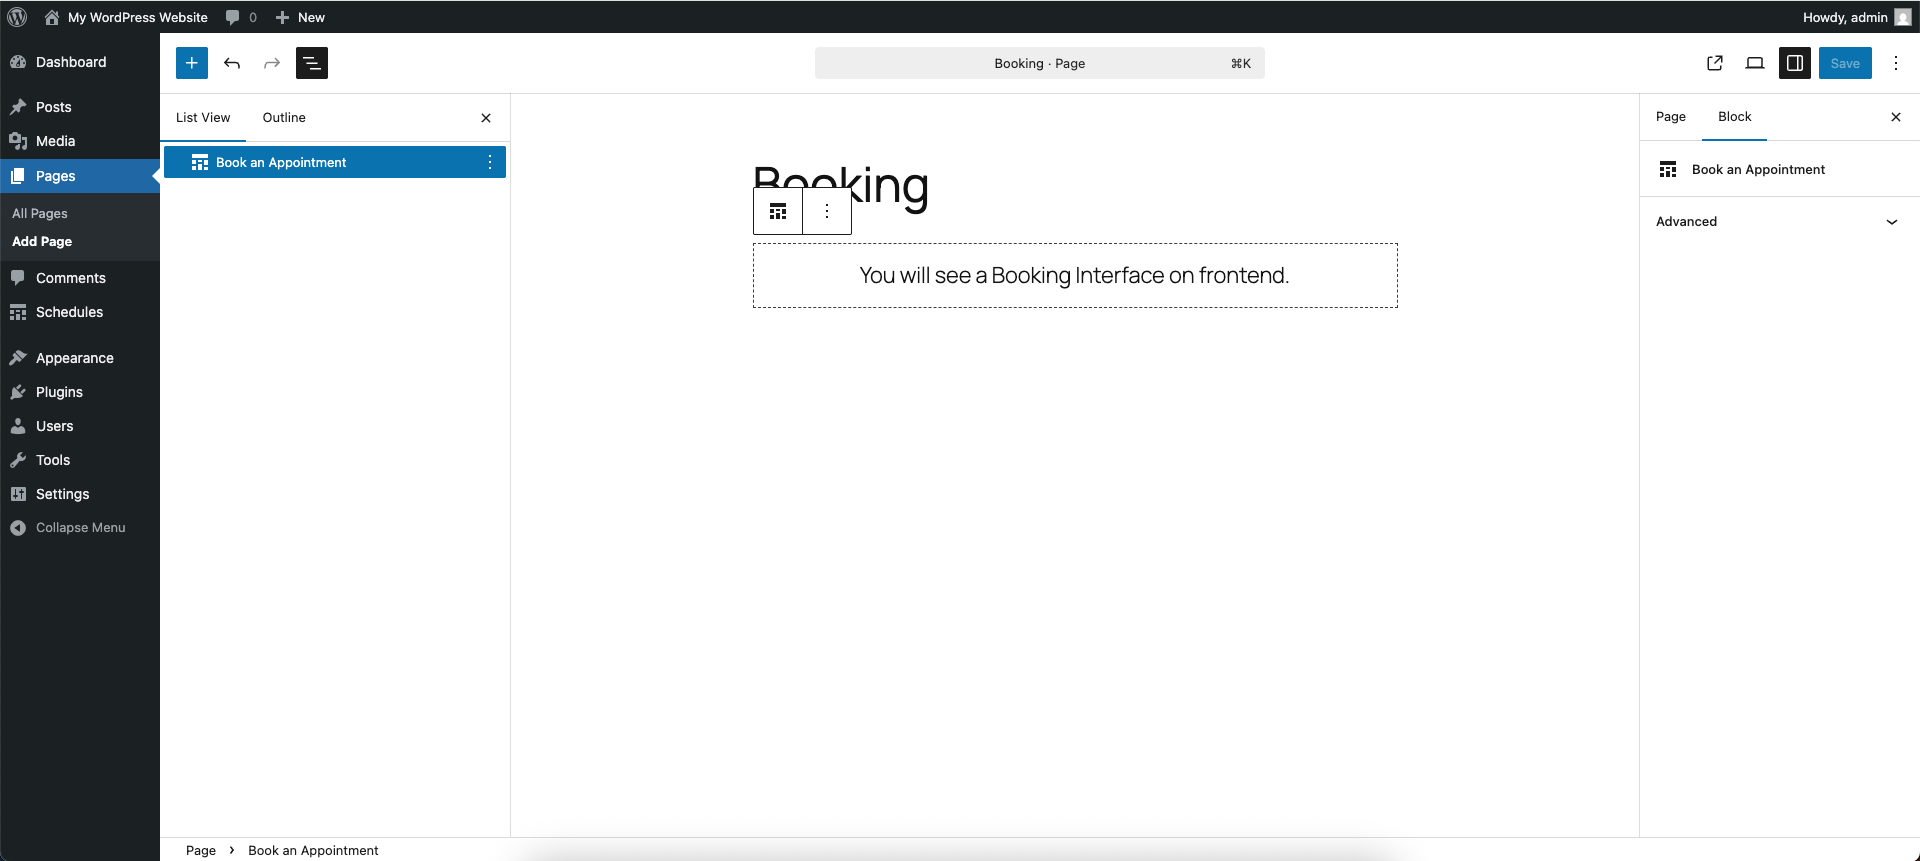
Using Block
Schedule(Post) edit page
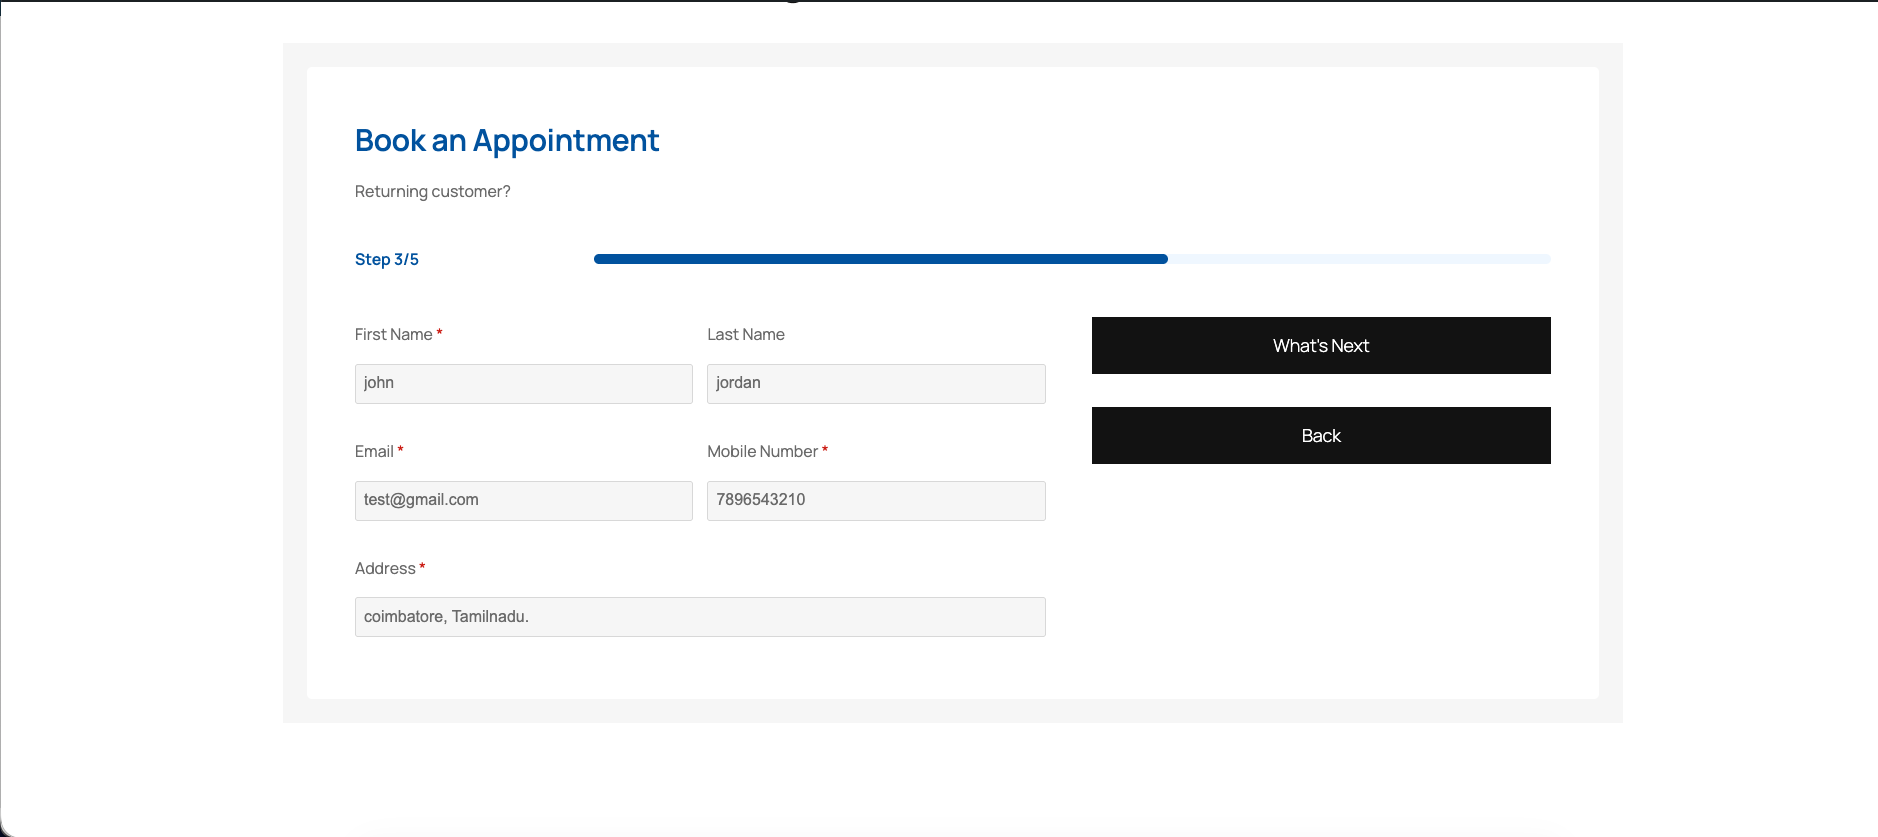
Frontend